Roof Installation
When it comes to installing your roof, we offer nothing but the highest of quality and top-notch customer service. Storm Guard will walk you through the entire process to ensure you feel comfortable with each step we take.
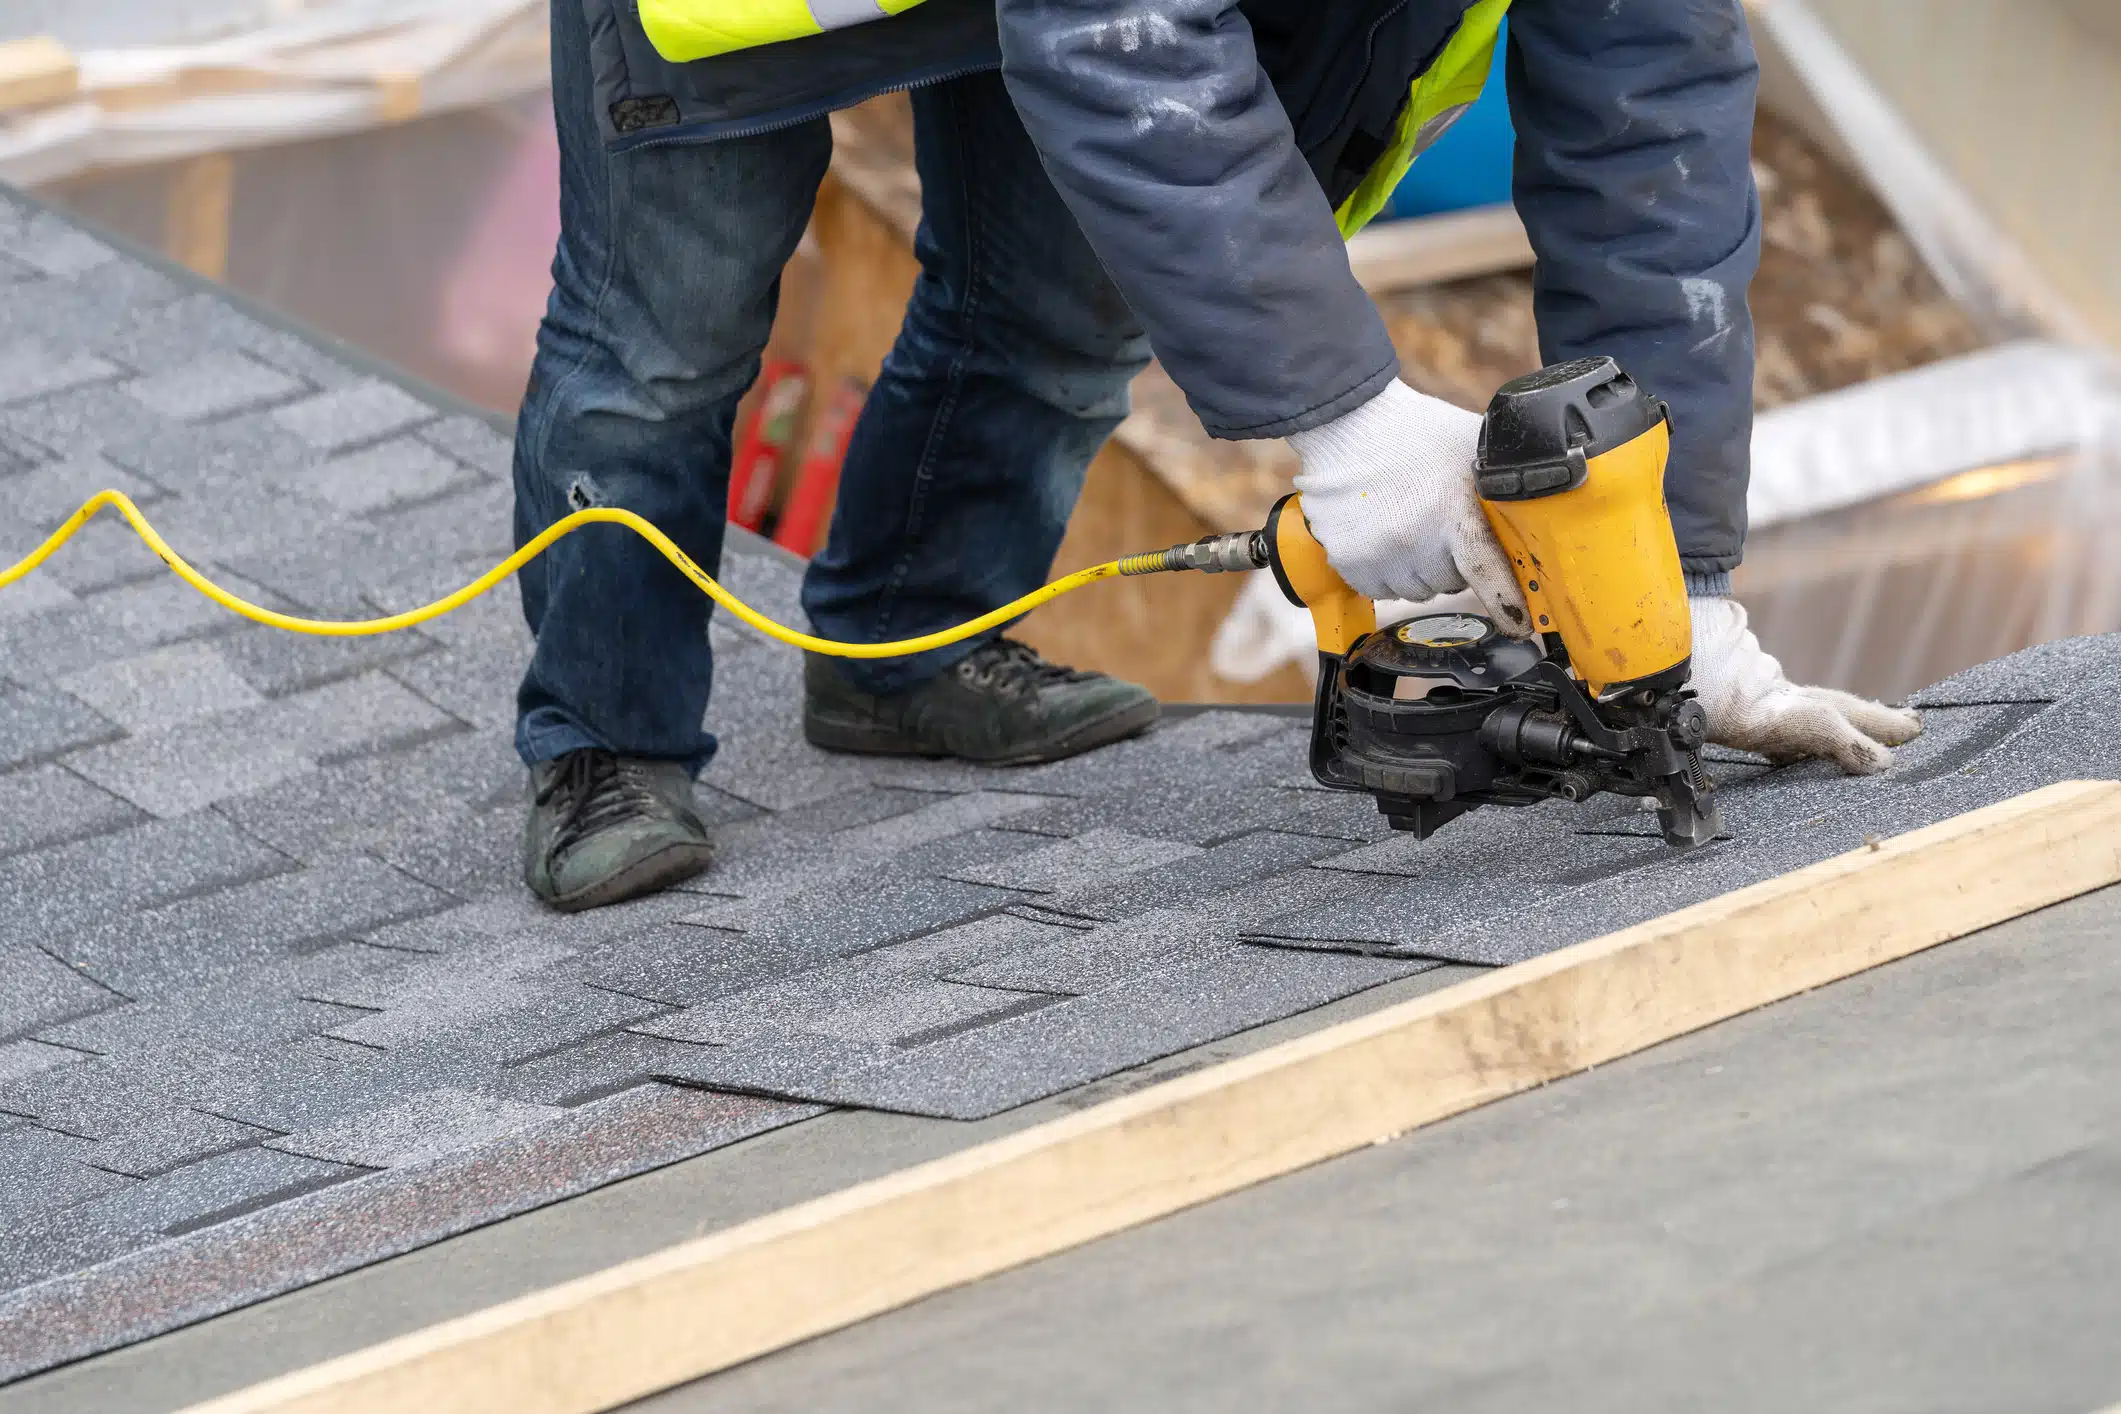
There are several different roof materials and roof systems, and each one has its own installation process. The first step for each one is safety. Your roofing professional should wear the appropriate safety gear, perform the work when the roof is dry, and follow manufacturers instructions.
A layer of starter shingles begins the installation process for asphalt shingles. Starter shingles are nailed about half an inch past the drip guard. They don’t have the same seams that asphalt shingles do, which helps keep water off the underlayment. Starter shingles should also be applied by eaves and joints. Then, it’s time to install the first course of shingles. This should be done by starting at the bottom of your roof and overlapping the shingles, working across.
A chalk line can be used to help keep the shingles straight. The shingles should lay so that the top layer of shingles covers the seams of the bottom layer. There should be at least 4 roofing nails per sheet and the nails need to be hammered straight down.
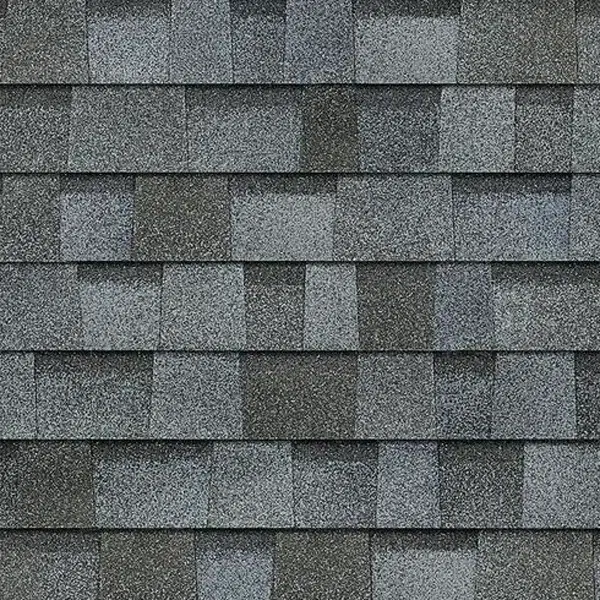
It goes without saying that roof replacement costs and roof installation costs vary by the type of roof material you want, the square footage of your roof, and how complicated your roof is. On average, most roof contractors will charge between $350 and $600 per 100 square feet for an asphalt shingle roof. On average, the cost to install a 2,200 square foot roof can vary between $7,000 and $13,200.
Other Types of Roofing
If you are getting any other type of roof system installed, your costs may be higher. Check out the national average costs:
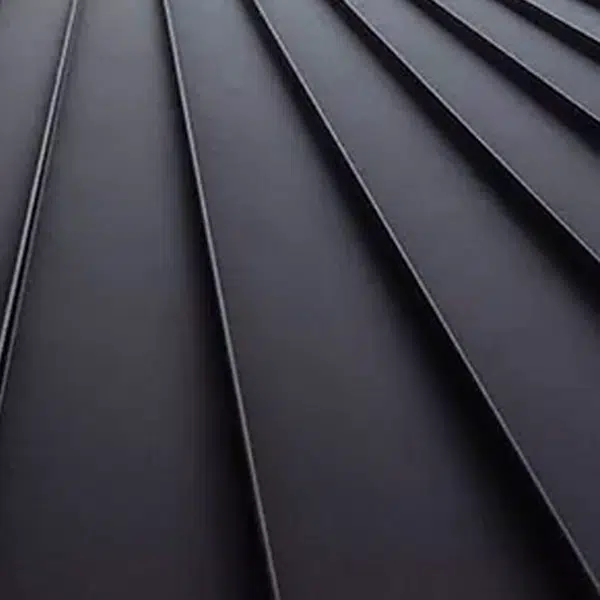
Metal roof: Between $12,000 and $20,000
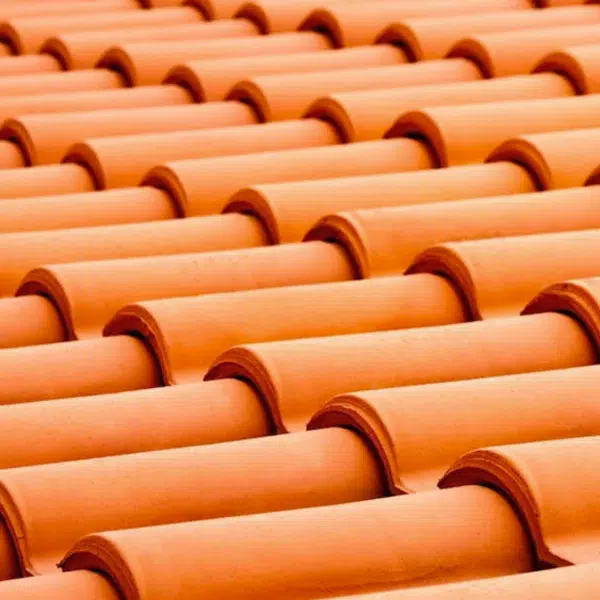
Clay tile roof: Between $25,000 and $50,000
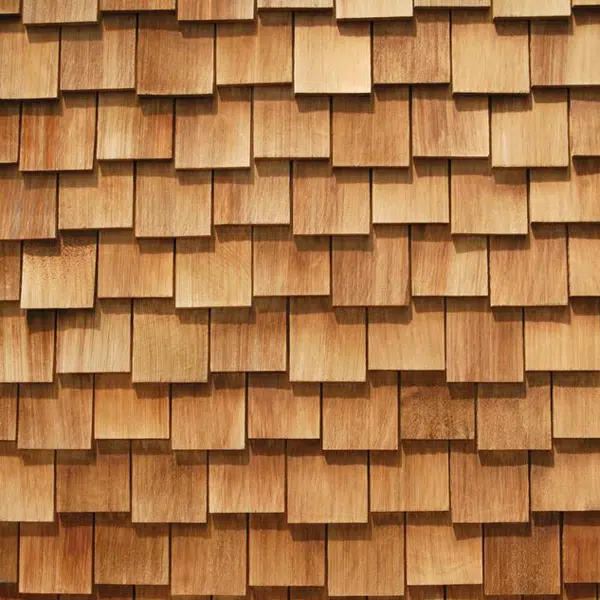
Cedar shake roof: Between $15,000 and $30,000
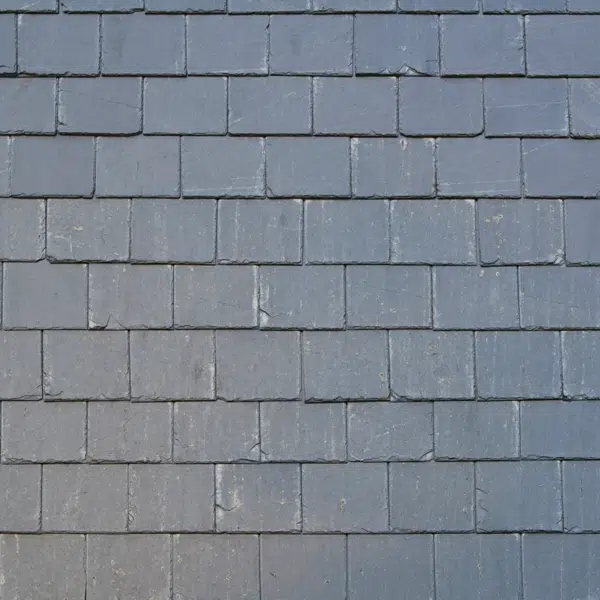
Slate roof: Between $20,000 and $45,000
What’s included in my cost estimate?
When you get an estimate back from a roof contractor, the price will usually include the removal and disposal of two or fewer layers of old shingles as well as the installation of underlayment, ice and water shield, and new flashing for the chimney. It’s a good idea to check your estimate carefully to ensure that everything your roof installation will need is included in the total price.
When you work with Storm Guard, the quote you receive will include all costs to do the job. You will also get a 5-year, industry-leading workmanship and labor warranty, something few other roofing contractors can offer. This is the real benefit of choosing professional roofing services with Storm Guard.
Learn more about our most frequently asked roof installation questions
The cost of roofing depends on the type, size, and difficulty of the roof. Here is a general breakdown of average roof installation cost:
Asphalt shingle roof: Between $7,000 and $13,200
Metal roof: Between $12,000 and $20,000
Clay tile roof: Between $25,000 and $50,000
Cedar shake roof: Between $15,000 and $30,000
Slate roof: Between $20,000 and $45,000
The cost per square foot varies by roof material and system. Here is a general breakdown of the material cost:
Asphalt shingle roof: Between $3.50 and $6.00 per square foot
Metal roof: Between $4.50 and $25 per square foot depending on the type of metal. The least expensive is corrugated steel and aluminum and the most expensive is zinc and copper
Clay tile roof: Between $10 and $18 per square foot
Cedar shake roof: Between $5.50 and $10.00 per square foot Slate roof: Between $9 and $16 per square foot.
The cheapest roof to install is also the most common: asphalt shingles.
The national average to completely tear off and replace a roof is between $7,000 and $12,000. This price will usually include the removal and disposal of two or fewer layers of old shingles as well as the installation of underlayment, ice and water shield and new flashing for the chimney.
Most policies offer two types of coverage: roof repair and roof replacement. Roof replacement is usually covered if it is caused by something that could not have been prevented like weather or accidents.


