Emergency Roof Tarp


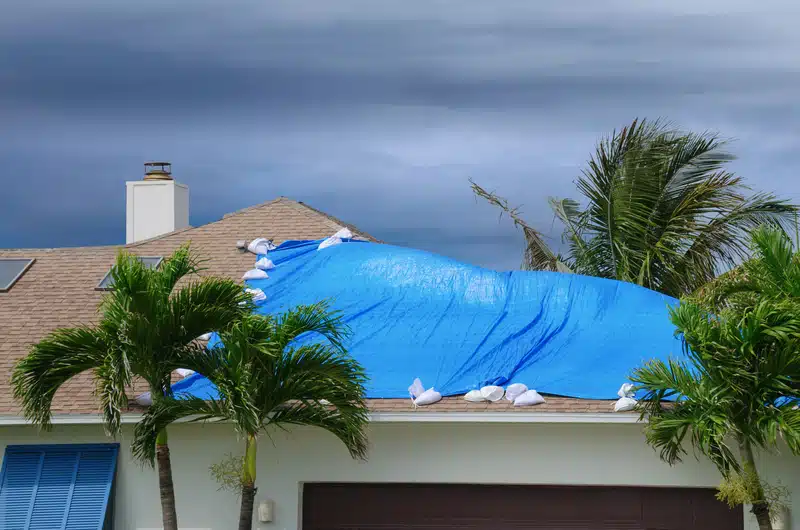
Emergency roof tarping is a temporary solution to help prevent further damage and protect your home. An emergency tarp is especially helpful when trying to avoid roof leaks, water damage, or mold, and keeping your home insulated as you wait for repairs. A tarp is also a great way to reduce insurance costs as it keeps the damage to your home at a minimum. While it is easy to put an emergency tarp up on your own, professional roof tarping may be required when the roof damage is significant or a tarp for the whole roof is required.
An emergency tarp service will look a little different depending on the length of time the tarp will be needed. Regardless of how long the tarp will be up, it’s important to clear the roof area before laying down the tarp. For a quick job, the tarp will be draped over the damaged area and secured with lumber or bricks. You can also fasten each grommet down with a 2 inch screw and 11/2 inch washer.


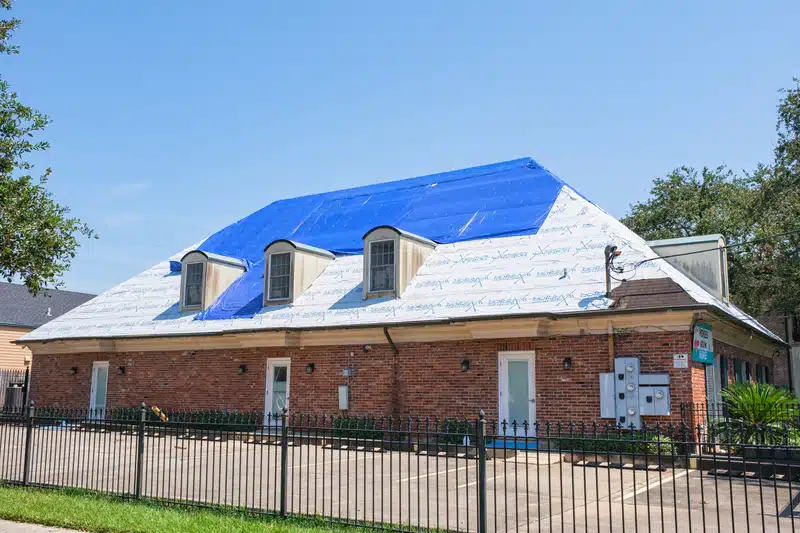
If the tarp needs to be in place for a longer period of time, say for a few months, then a piece of plywood will also be used along with the tarp. Typically, the damaged area should be covered with a ⅝-inch exterior grade piece of plywood and secured with 2-inch deck screws. The plywood helps stop water from collecting on the tarp.
No matter how long your tarp will be up, be sure to have at least a few feet of the tarp going over the roof peak. This ensures that water will run off the tarp instead of going underneath. If you have a tile roof and can’t screw the tarp in, you can fasten the edges of the tarp to the roof eaves.
Before and after emergency tarping services, there are things that you can do to help minimize roof damage. Here is a quick checklist of precautions that you can take:

Learn more from our most frequently asked emergency roof tarping questions
On average, the cost of an emergency roof tarp falls between $200 and $1,000. However, if the roof damage was caused by severe weather or an unpreventable accident, your insurance company is likely to cover the cost.
When installed correctly, an emergency tarp can last up to 90 days. However, leaving it on longer can potentially lead to mold or unnoticed leaks.
The most secure way to get the tarp to stay on the roof is to use a 2-inch nail. Heavy objects like lumber or small bricks can also be used in the short term. You can also purchase an adhesive roof tarp.
Staples are not recommended as they are not as durable as nails.
The simplest and most common way to temporarily cover a hole in your roof is with a waterproof tarp. If the hole is very small, you can use tar or plastic roofing cement.